
I probably went just a LITTLE overboard with this party... But... Well, we don't do big parties every year, only for "milestone" birthdays. So I totally have an excuse. I made a TON of items for this party. For this photo display, I bought plain wooden plaques and used a spray on stain I found in the craft section at WalMart to color the wood. I then put the photos on with glossy Mod Podge (look how much my sweet girl has grown!) and then spray a glossy spray sealer over the Mod Podge for that final seal. It took some time, waiting for everything to dry, but the actual work itself took no time!

Here we have sweet girl's invitations displayed. I created the two images in Photoshop Elements, and then had them printed as a 5x7 double-sided glossy invitation. The printing is a little bit pricey, but the first birthday is the only birthday I actually mail out invitations for, and they make a nice keepsake!

Here is one photo that kind of shows Lil Ma'am's outfit. I made it from various tutorials. I used this tutorial for the fabric tutu, but I did sew around the edges of the fabric strips to keep them from fraying too much, since I wanted to be able to wash it and save it as a keepsake. This is how I made the flowers that I added buttons to and sewed to a plain white onesie. And then I used this tutorial to make her adorable braided headband!

I made this tutu for her high chair, as well. I used Kayla Aimee's no sew tutu tutorial ages ago to learn how to make a tutu for my best friend's batchelorette party, and I've been making tutus that way ever since. This one was a little bit more difficult since I couldn't wrap a circle of elastic around anything. I measured the elastic to fit around her high chair, made the tutu, and sewed the first and last piece of tulle in place before trimming the ends of the elastic. Then I used stick-on velcro dots on the tutu. I waited until the day of the party to stick the other side of the velcro to the highchair, so the velcro wouldn't collect dust and fuzzies and dog hair while it waited. Then I just velcroed her tutu on! It made a super cute decoration.

If I had known that marshmallow pops were SO EASY, I would have done them ages ago! I dipped these in white chocolate and rainbow sprinkles. I watched this video to make sure they would be as easy as I thought, and they were!

In this picture, you can see the amazing Happy Birthday banner as well as pennant cake topper banner that my friend Nik, of Spenk & Ollie Creations made out of the fabric I had left from Lil Bit's outfit. Nik is AMAZINGLY talented. She makes babylegs (legwarmers), sun & moon mobiles, pennant banners, and custom rag quilts. Her work is BEAUTIFUL - and we have some of everything. I am currently patiently waiting on the houndstooth rag quilt we commissioned her to make for us.

Here's a closer view of the cake topper, and a view of the amazing cakes a friend of my husband's made! I really asked for a lot from her! Baking is not her full time job, and I asked her to make the smash cake with a technique she had never used before. The polka dot cake was six layers in rainbow colors on the inside, but I forgot to get a picture of it. I was impressed with how wonderful these turned out! She definitely made my vision a reality! Also you can see here that I made the cake stands with plates, glasses, and spray paint (and the cookie stand, not shown in this picture, was made from plates and candlesticks). If you do a project like this, keep in mind that the spray paint isn't food safe - we just covered our items with a bit of saran wrap. I also spray painted some plastic dollar store trays and covered those with saran wrap.

This picture shows Lil Bit's outfit better - she just would NOT stay still for me to get a good picture of it. Too much to see!

And just because she's SO CUTE, here are a couple of her smash cake pictures!


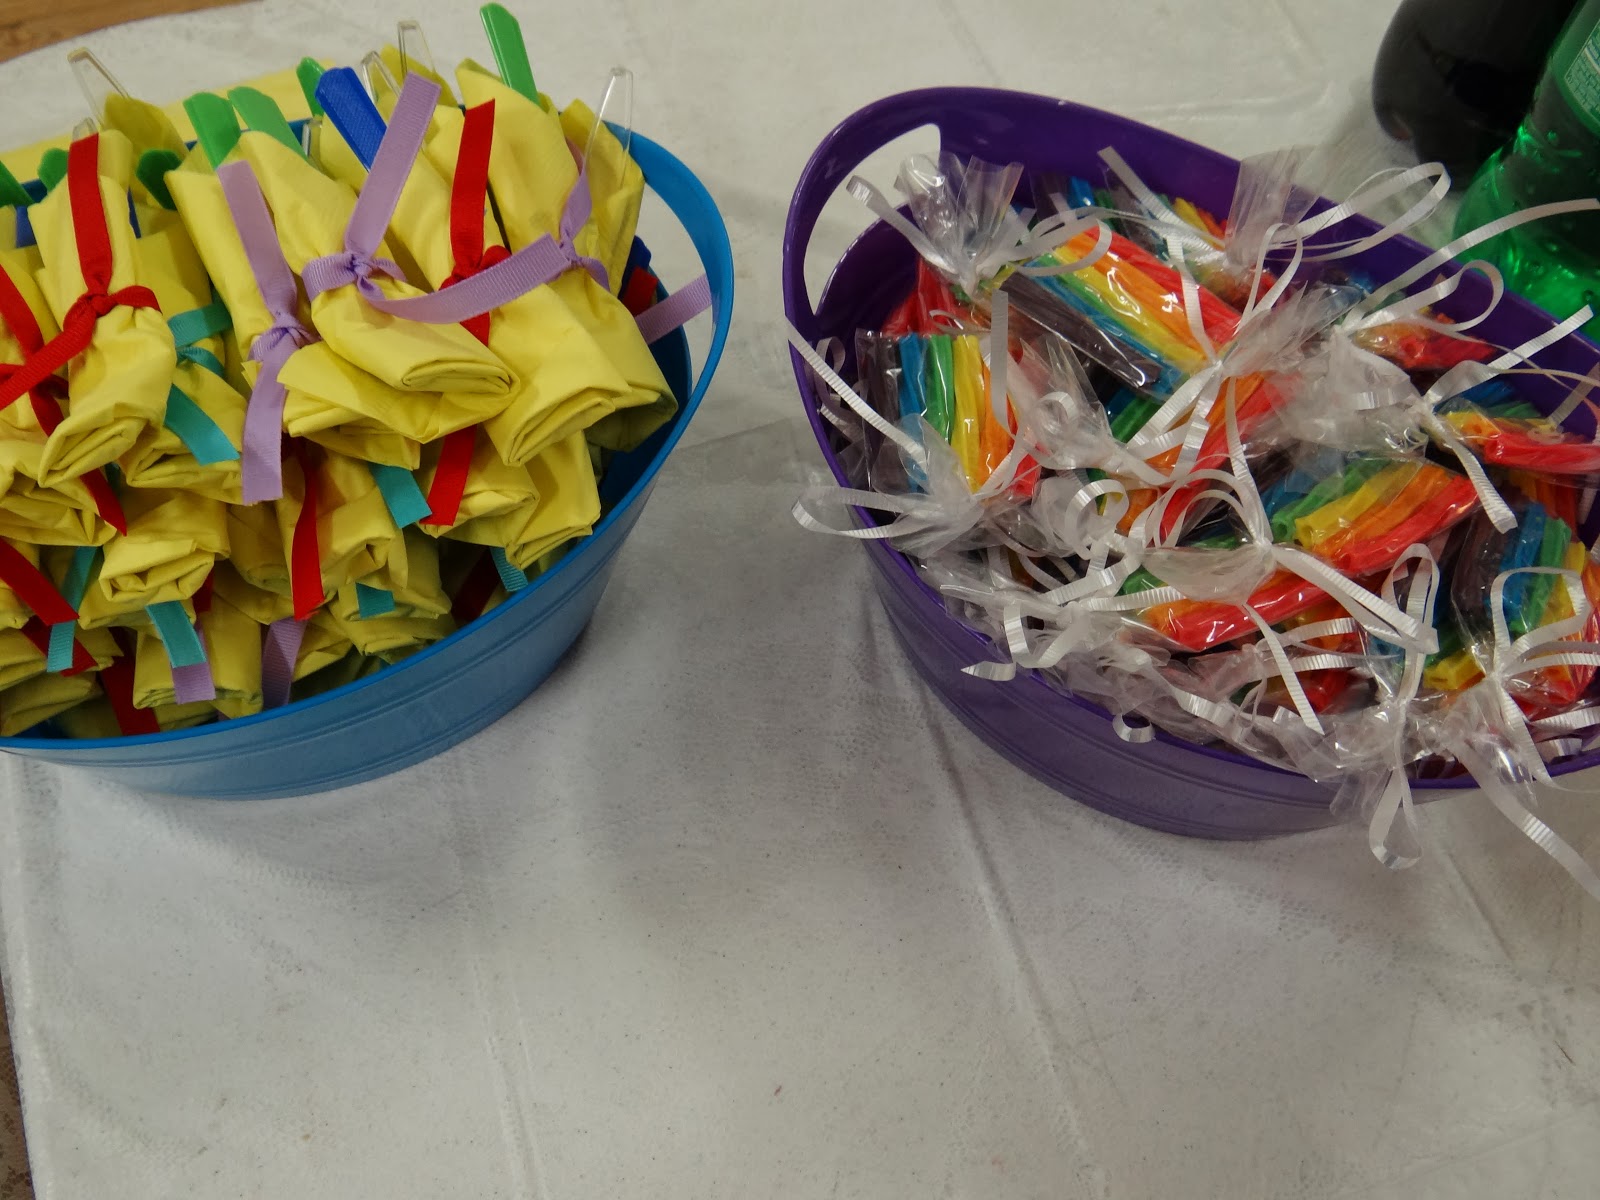
Here are the two tubs I made - one is filled with forks wrapped in napkins and ribbon, and the other is Twizzler rainbows - I used the rainbow twizzlers and cut each one into thirds and then arranged them in cellophane bags as little rainbows.
And just one more cute photo for good measure - this is from her cake smash photo shoot that we did last month. The same friend made this cake, but we went with a much simpler design so as not to overdo it, since her outfit was so bright. I made the tutu and necklace, and a close friend made the barette for us. I'll share her Etsy shop as soon as she gets it opened up!

Now, I have to figure out what in the world I'm going to do for my Fridays from now on! I'm just about crafted out! ;-)
-ANG
No comments:
Post a Comment